Sewing

Project #5: Duffle Bag

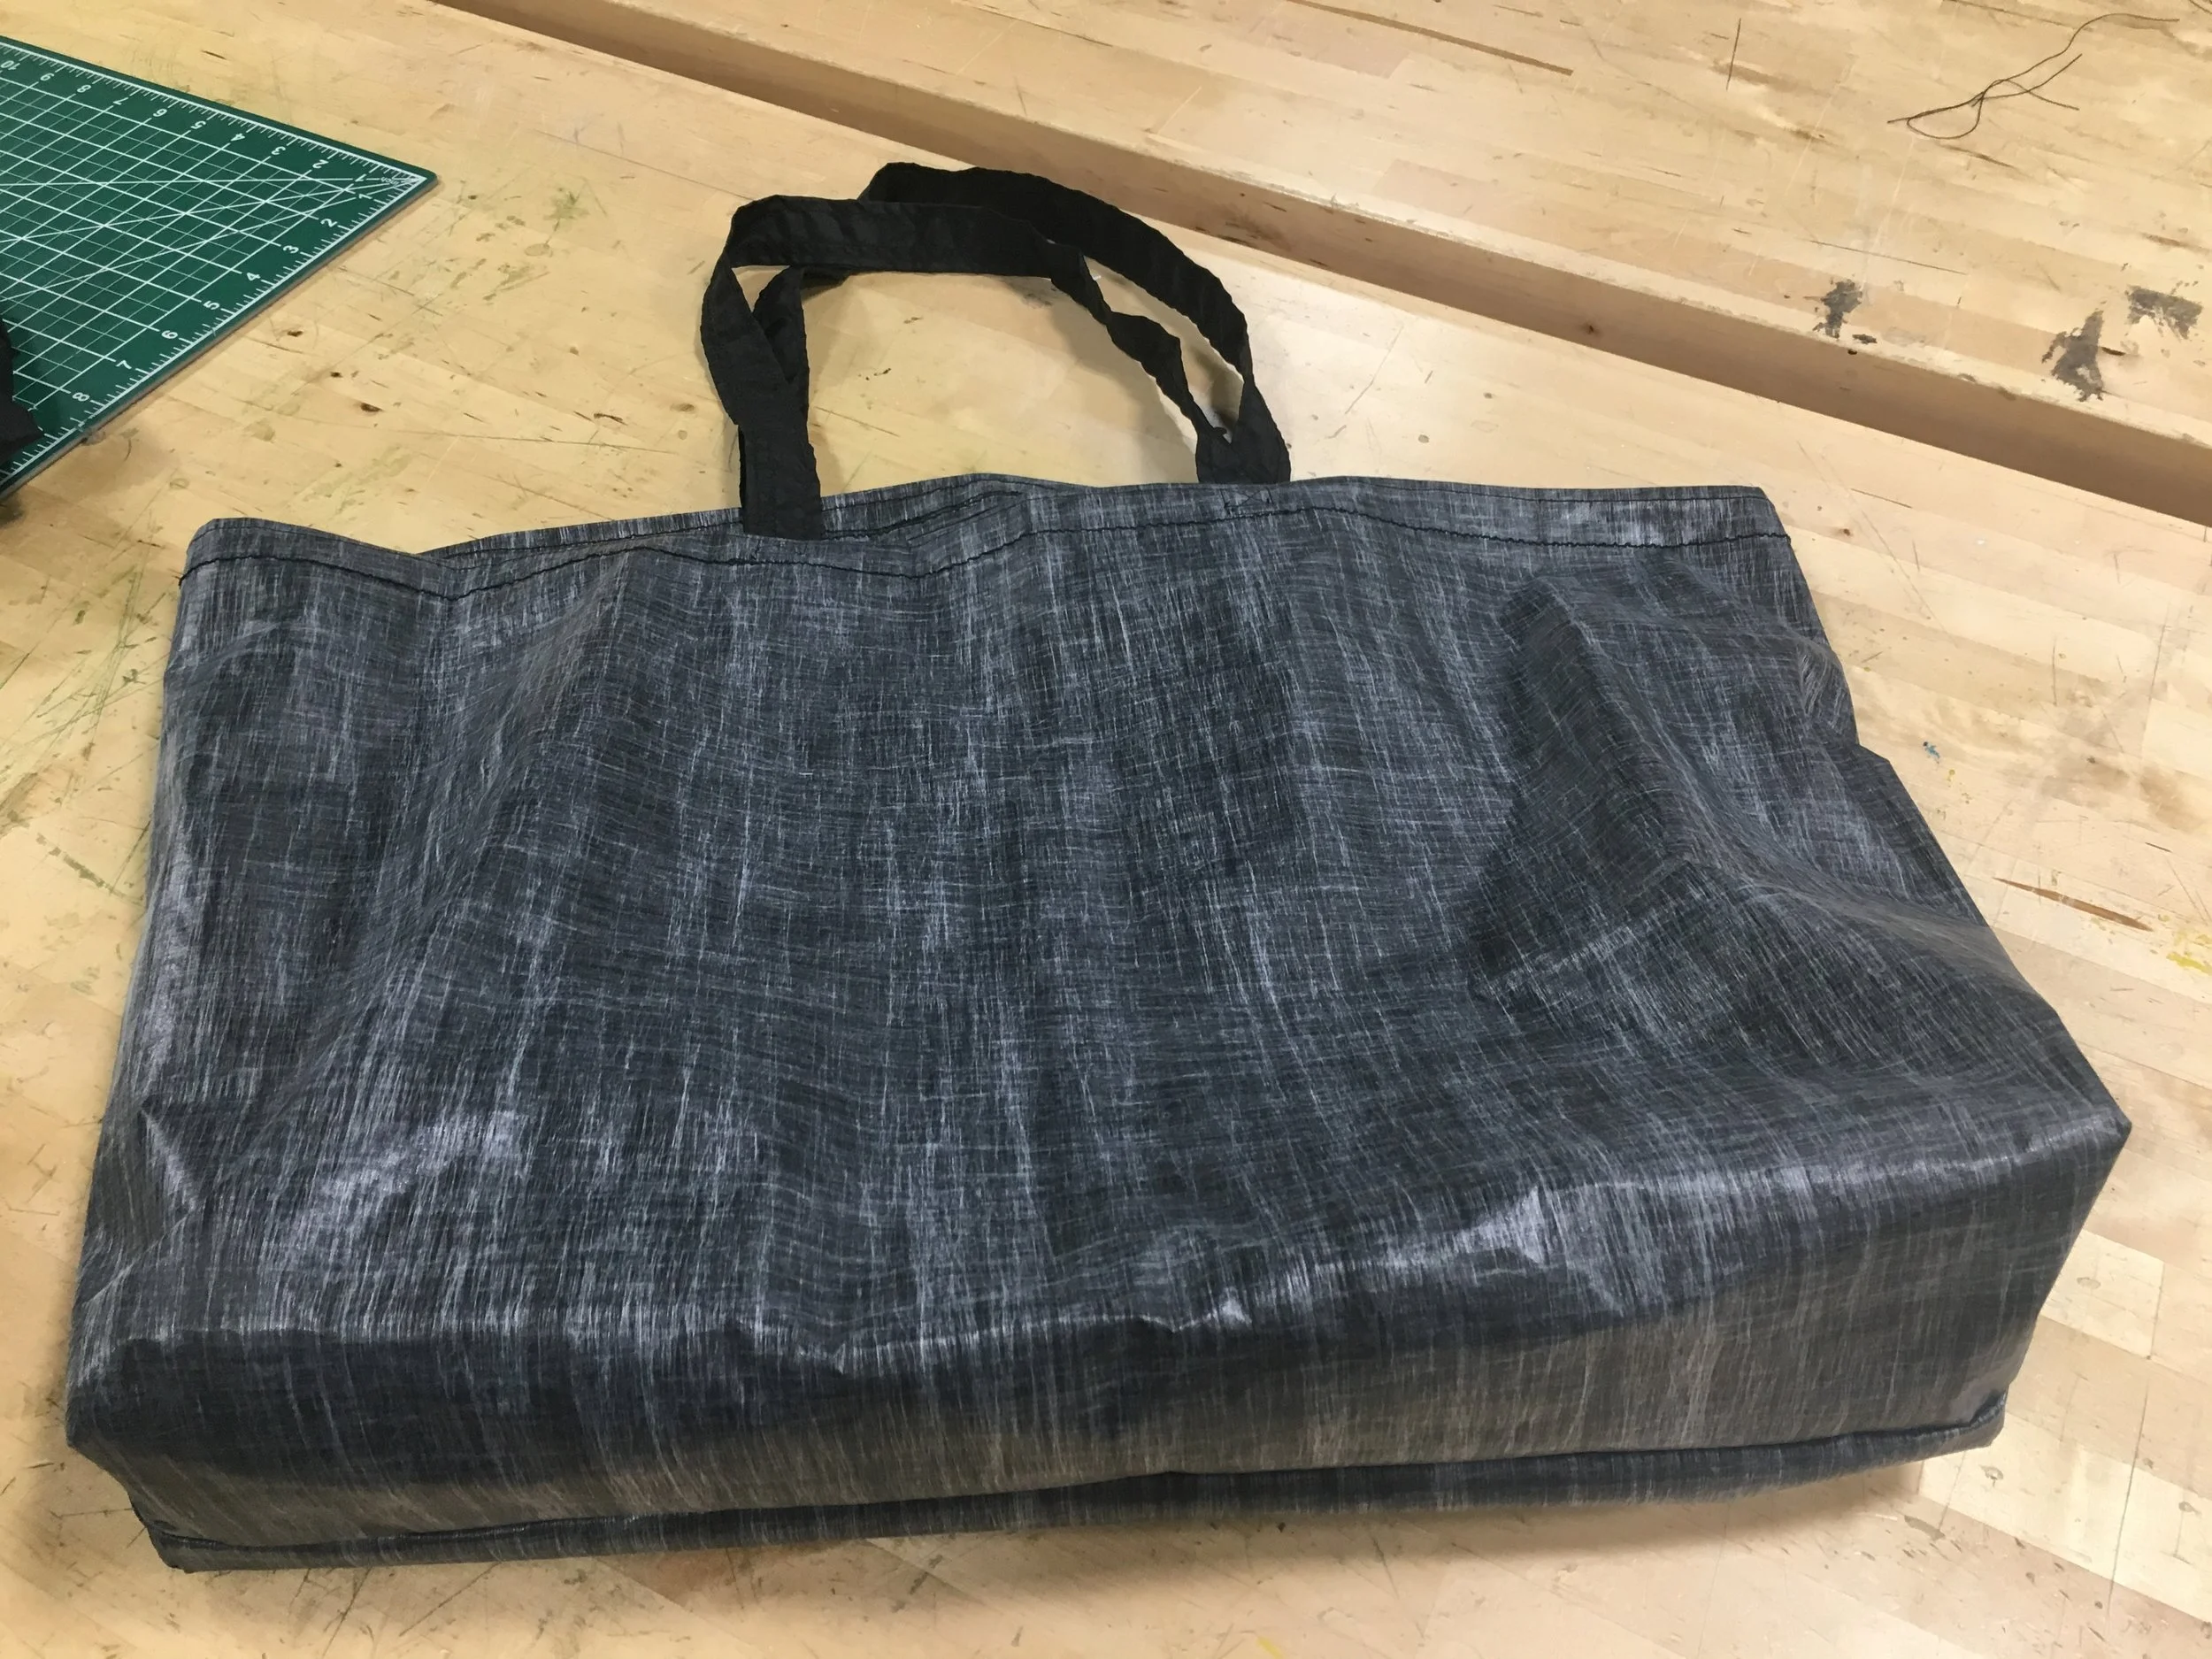
I want to make a really cool, useful, sleek looking bag out of black dyneema. As a prototype, I decided to make one out of Liteskin (x-pac 21) and with a nylon hex70 ripstop liner. My goal is to take it pretty seriously and to get all of the measurements correct. However, I’m already starting to get a little sloppy.

Lessons while making it so far:

  • for cutting out a liner, which needs to be the same size as the outer material, do not simply drape it over the original and try to cut it. This will lead to extra or less fabric which will be a pain when stitching it to the outer material.

  • the lining only needs to be big enough to cover the interior, not the entire seam allowance, but the more, the better.

  • measure everything! (every single seam allowance when sewing)

  • mark everything! (where the fabric folds and even where the stitching should be. this is a bit extreme but would really cut down on any sloppiness)

  • back-stitch on every end

  • X-stitches are hard, so ensure i do the above points

  • USE THE LINE GUIDES BY THE NEEDLE! trust them; don’t pay too much attention to where the needle is going. if you just look at where the fabric aligns w/ the line, the needle will pierce it exactly (align the needle ahead of time so it pierces it where you want)

  • the machine sometimes slips side to side and sometimes can’t grip the fabric too well, so guide it gently.

  • make the webbing long enough to go on the bottom of the bag. this will ensure the bag can carry any load and will never break.

  • make sure i cut a long piece of webbing and stuff it into the bottom seam allowance. practice w/ paper first.

  • don’t have curved edges

  • only use ribbon that is very coarse so that it holds plastic hardware better

  • curved elements are very hard to work with. despite spending hours planning it all out and being careful w/ measuring and sewing, I didn’t anticipate the issue with folding edges that come together at different angles — folding it (for creating the seams) creates uneven edges; there’s no way to prevent this. the only alternative i can think of is to not do a proper seam but to just sew two 1x seam allowances together and use grosgrain.

  • box design is sufficient because when unloaded, there is plenty of freedom to move fabric.

Day 1: 6pm - 11:30pm (only cut out the outer and inner fabrics. no sewing) — Friday

Day 2: 5pm - 7pm: sewed the 2 fabrics together and cut the seam allowance rivet out — Friday?

Day 3: 4:30pm - 9pm: cut handles and sewed them (8 X-stitches) — Saturday

Day 4: 10am - 2:40pm: sewed velcro and brainstormed webbing/plastic hardware enclosures. not sure how this took so much time. — Sunday

Day 5: 4:45pm - 8:45pm: top snap latches. man, why did this take me 4 hours? it was because of the decision making process, and because i messed up by forgetting to loop the buckles through it before sewing the webbing to the bag. i was overly sewing by making x’s and stuff, too. there’s no way i need an X for these buckles, but i enjoyed the practice

Day 6: no clue, maybe 2-3 hours? bottom latches.

Day 7 (Friday): 4:30pm - 10pm: 1 side panel up. took a long time to figure out what i wanted and how it would work.

Day 8 (Saturday): 1:40pm - 2:20pm: 2nd side panel up

Day 9 (Monday): 4:10pm - 6:50pm: finished everything: remaining 2 panels and final buckles!

FINAL THOUGHTS: pretty happy with it! felt soo good to finish it after spending so many hours on it! sadly, it’s not too usable though, mostly because the flaps are too large and i can’t close it properly.

I am very eager to make a new bag out of dyneema and to measure everything out precisely, even the sewing lines, and to draw out how the seams will fold together. honestly, i rather be doing that now than anything else. it’s kind of a weird hobby.

FIELD TESTING RESULTS:

I used the bag to travel to Atlanta and Czech/Spain/Andorra/Spain. It’s weaknesses:

  • No easy way to carry it when it’s fully packed. Shoulder strap isn’t effective. I need removable backpack straps.

  • The velcro came undone in one place due to a narrow seam allowance

  • The bottom is starting to wear thin. Should use Nylon 1000D Cordura.

  • Hard to see items in the bag; should use a white liner

  • The side flaps are a bit too large. Should make a box design w/ a strap. No bottom

  • fasteners:

    • Use thicker webbing; it’s way too flimsy and appears cheap when using.

    • Use Box X stitching because some stitching is coming undone!

  • Lofty goals:

    • make a laptop compartment

    • make the hard bottom support piece removable

    • Large side zipper pocket

    • Internal pocket for passport, wallet, keys

    • Key rope fastener

Chris Tanner
Project #4: Large Tote Bag

3 days.  12 hours total.

I wanted practice:

  • figuring out how to have no seams visible from outside:

  • flat-felled seam

  • accurately envisioning the dimensions needed for flat-fell seams

  • dimensions of a good tote bag


Lessons learned:

  • measuring & cutting takes tons of time and is still hard with nylon, especially the cutting part

  • cut all fabric w/ an x-acto knife, not scissors

  • the math is really hard. allowance 3S should be added to every edge which will be stitched with another piece of fabric — and that one should be 2S. for example, at the bottom of the tote bag, the cut-out right angle between the bottom and to-be side does not need to be 3S vs 2S because it’s attaching to itself. yet, i’d like to roll it over to hide the raw edge, so i could add 3S to each side. no need to make these 2 edges have diff length than the other half’s fabric has for this same section.

  • the order should be: i feel like the corner edges should be last. think about the difficult and what the seams would look like, though. so, i’m unsure. if i do the corners first, that might be best. if i do bottom and sides first, then it could get tricky to fold up the small corner, especially looping it twice over. maybe try both, at least imagine both. it’s too ahrd for me to think which way would b ebest/easiest. right now, if i had to guess, i’d say corners first.pay attention to which side you’re stitching because the backside will look ugly

  • X’s should be on the outward facing fabric. otherwise, the backside looks horrible

Need to learn:

  • why does back look ugly? tension? speed? pulling the fabric? maybe i need to replace the needle.

IMG_9817.JPG
IMG_9809.JPG
IMG_9806.JPG
IMG_9803.JPG
IMG_9801.JPG
Chris Tanner
Project #3: Backpack

2 days.  20 hours.

Lessons learned:

  • It's hard to know every dimensions a priori; that's why prototyping w/ real fabric is vital -- I had prototyped with newspaper, but that wasn't sufficient, as I didn't roll down the roll-top and thus didn't know how much fabric would be needed. As a consequence, I underestimated the amount needed for rolling and thus my torso was really short.

  • Stitching a backpack in the correct order is hard. On /r/myog, people suggested:

    • from /u/tri_wine: Build each panel first. Whatever straps, buckles, etc you want on that panel should be attached to each. Then attach all the panels together, inside out. Each side gets sewn to the bottom panel, then the front panel gets sewn to the bottom and sides, then the back panel. All the buckles and straps and junk should now be on the inside of the pack. Avoiding catching a cinch strap in a side seam is part of the fun.

    • from /u/aristicks: Yes straps on the back panel first. Then each of the other 3 sides. But it definitely has to be sewn inside out or your seam will show on the outside of the pack. I think I did all 4 sides then the bottom panel to put it all together. Or you can do 3 sides, then the bottom, then the last side

  • Raw edges look bad. I'm against grosgrain because it adds weight, although I'm told it would help have even stronger structure. I'm for faux-felled, per the reddit messages from someone.

  • Blue looks cool, but for a serious bag, I'm against it. I'd prefer black.


dyneema_1.jpg
Chris Tanner
Project #2: Revenge of the Tote Bags

Took 2 days.  Probably 6-10 hours.

Wanted more practice w/ basic stitching, measuring, cutting poly/nylon, and other sewing skills before embarking on anything bigger.

main body: 32.25" (L) x 18.75" (W)

handles: (2x) 27" (L) x 4.5" (W), which are sewn 5" from edges

lessons learned:

  • measuring, marking, and cutting everything w/ precision takes forever.

  • accuracy is vital; the cut was a little off, and i thought i could salvage it via folding properly. i couldn't. things became crooked and consequently uneven w/ the fabric.

  • always turn the hand wheel towards you -- i spent 10 minutes trying to figure out why the bobbin wasn't properly catching, as i tried to re-thread.

  • the tables may look clean, but they probably aren't. my fabric became very dirty.

  • before placing pins in fabric, think about which side is easiest to turn the entire garment while sewing, and place pins accordingly (so the head of it is closer to you)

  • sewing w/ precision requires paying attention to the exact hole that was pierced w/ the needle -- after adjusting/moving fabric, try to align the fabric such that the machine will continue from exact same hole.

  • when sewing straps or other things which involve adjust the garment in the middle of a sewing line, work on trying to make it all 1 straight line -- not sure how i'm messing up, maybe don't stop while the needle is up? leave it down within a hole?

  • keep two pairs of scissors handy: 1 near machine for trimming every thread; 1 by fabric measuring/cutting area.

  • make sure the needle is well into the fabric before sewing.

  • make sure the bobbin's thread is truly under your fabric before sewing, otherwise, i think this contributes towards the thread coming out of the machine (forcing me to re-thread the machine)

  • wear shorts or something light; it gets really hot at times in the BDW

  • square corners are hard. not sure how to make them perfectly align -- maybe the discrepancy in edges was due to the edges being not 100% equal?

Next time:

  • make the bag's square base larger -- maybe even twice as large (meaning 4" cuts)

  • make the bag a few inches taller and wider, to compensate for the larger base, otherwise, it'll be very short

My first two attempts at making X stitches. Try to guess which was my 1st attempt.

My first two attempts at making X stitches. Try to guess which was my 1st attempt.

My first legit, finished tote bag! (One on first day doesn't count because I didn't measure anything, I didn't have to make the handles, and I didn't properly stitch the handles).

My first legit, finished tote bag! (One on first day doesn't count because I didn't measure anything, I didn't have to make the handles, and I didn't properly stitch the handles).

Chris Tanner
Project #1

Just tried using the sewing machine by myself for the 1st time.  1.5 hours later, I incorrectly, and very poorly, made a tote bag.  I blame the instructions on the Brown Design Workshop page.  There are many typos and just wrong instructions (It's titled, "We will make a pin cushion!" then goes on to describe making a tote bag).  Anyway, I couldn't figure out how they wanted the handles, but in the interest of getting practice on a project that means nothing, I forged ahead and just stitched stuff.

Lessons Learned:

  • Loaded/Threaded the machine for my 1st time, solo

  • The presser foot feeds the material really well, keeping it straight

  • Using pins is hard. I need practice. Also, sticking myself isn't the best feeling.

  • The needle should start sewing while already being in the thread a little bit, otherwise it may be difficult for it to grip the fabric and pull it

  • Polyester is very thin and difficult for me because it's so flimsy.


Yea, those X's aren't supposed to be there. Originally that side was going to be the inside. Let's not talk about it.

Yea, those X's aren't supposed to be there. Originally that side was going to be the inside. Let's not talk about it.

Chris Tannersewing